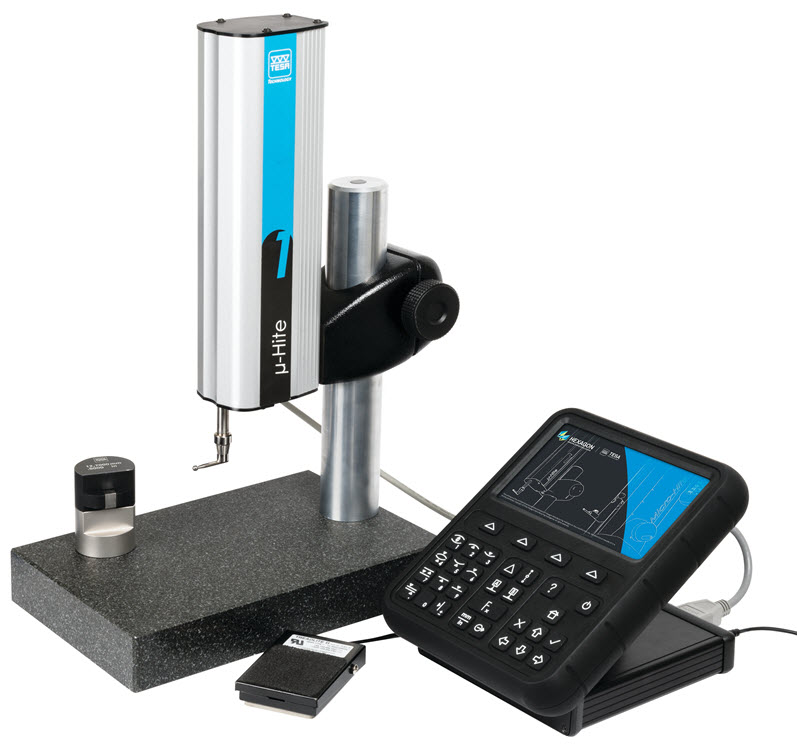
Compact design with measuring stand included. The perfect combination for small parts and when a low measuring force is required. The whole system provides the best solution for measuring straightness, flatness and parallelism or inspecting axial and radial runouts, depending on the chosen tool configuration.
TESA µ-HITE
Description
DESCRIPTION
• POWER PANEL
– protected against penetration of liquids or dust ## NewLine ## – 1D refined keyboard for easy handling and without confusion ## NewLine ## – compatibility with 2D panel for access to functions that go beyond of simply measuring in 1D mode ## NewLine #### NewLine ## • MEASURE ## NewLine ## – Perfect for small parts measured near the production NewLine ## – High precision ## NewLine ## -Low adjustable trigger force to enable the measurement of a wider range of materials ## NewLine ## – clear results to reduce possible errors due to unfortunate interpretations of displayed results
• COLUMN
– Compact for measuring close to production by minimizing the space required
• SCS CALIBRATION CERTIFICATE
-##- Free SCS ccertificate SCS provided to avoid additional costs for re-calibration the initial purchase
SPECIFICATIONS
| Measuring force | - 1.0 ± 0.2 N - 0.6 ± 0.2 N |
| Units | mm / in |
| Resolution | - 0,001 mm / 0,0001 mm - 0.0001 in / 0.00005 in |
| Zero | Fixed |
| Coefficient of linear expansion | 11,5 x 10⁻⁶ K-1 |
| Material | - Marbre: granite - Potence: acier trempé - Support tête de mesure: fonte |
| Degree of protection | IP50 (µ-HITE) |
| Weights | - Marbre + potence + support: 16,2 kg - Pupitre + boitier: 1,5 kg - Tête de mesure: 2,5 kg |
| Measuring range | 100 mm / 4 in |
| Maximum deplacement speed | - Déplacement motorisé rapide: 10, 20, 30, 40 mm/s - Palpage: 5, 10 mm/s |
| Included in delivery | - SCS calibration certificate |
| Data output | - 3 x USB- 1 x TLC |
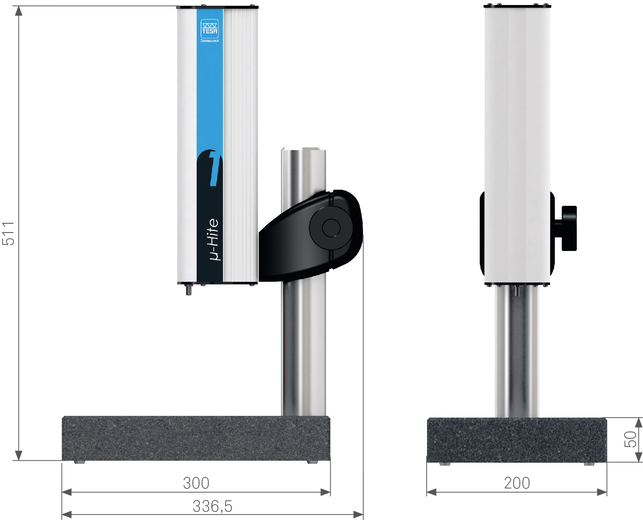
DIMENSIONS

You must be logged in to post a review.


Reviews
There are no reviews yet.