Mobile corrugation measuring system
Approved measuring device according to DB and DIN EN 13231-3: 2012 for the acceptance of rail profile work Correct
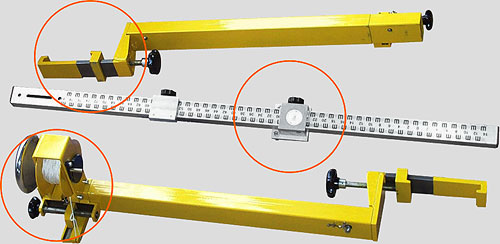
checking of the rail longitudinal profile, especially after reprofiling work such as rail grinding or milling, is of central importance. RMF 1100 fulfills these requirements as precisely as efficiently .
Compared to its “big brother RMF 2.3E”, the RMF 1100 is built more compact (shorter) and detects waves up to a maximum length of 1000 mm.
The central feature is Vogel & Plötscher’s specially developed and patented measuring principle – proven for years and internationally recognized. The scanning of the rail is effected touching by a special probe with high-resolution sensor (measuring interval = 2 mm). The decisive advantage: RMF 1100 thus maps the actual primary profile, ie it provides the real raw data of the rail surface! These are of particular importance since they represent a verifiable and therefore reliable basis for the assessments, for example according to DB guideline 824 or DIN EN 13231-3: 2012.


Reviews
There are no reviews yet.